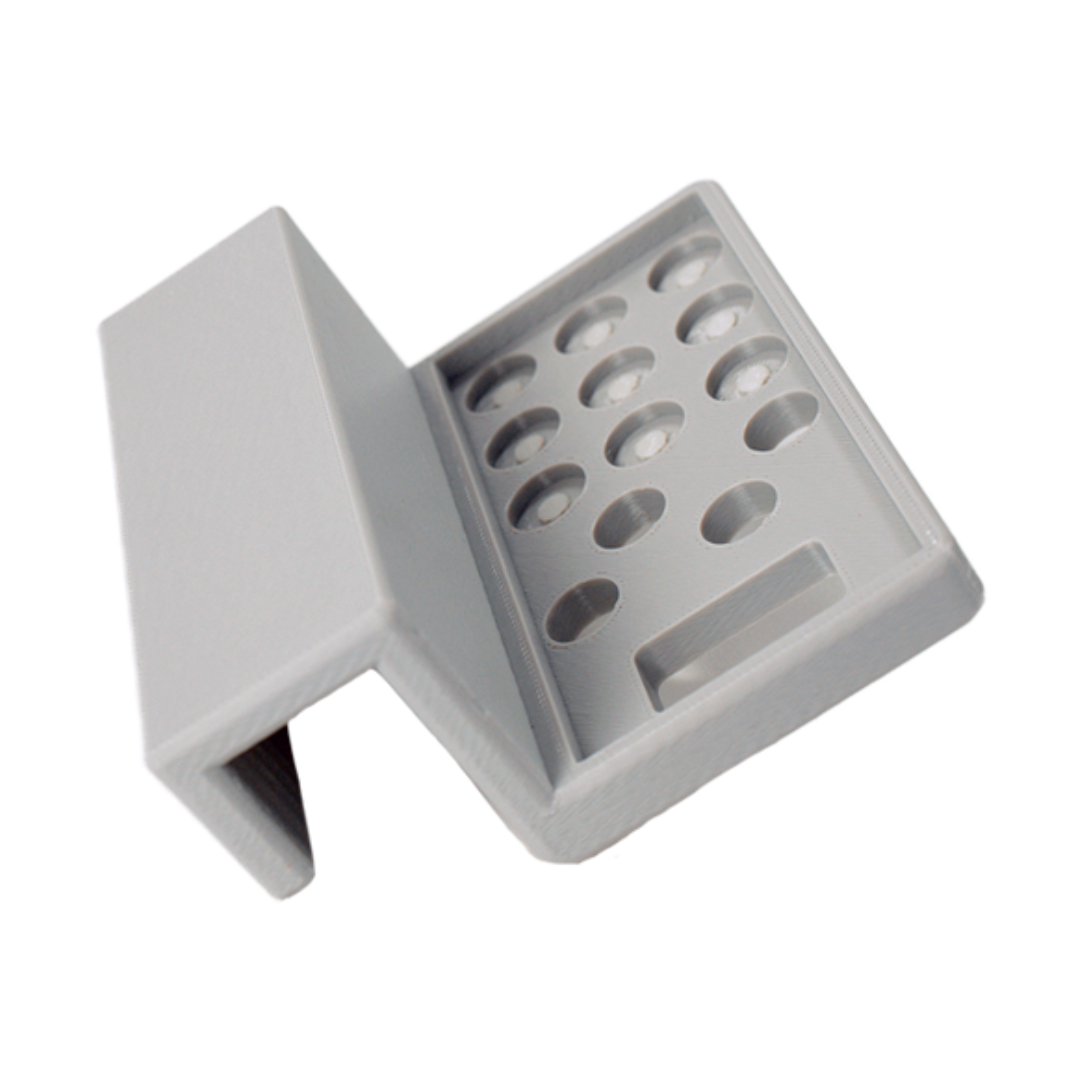
What is Rapid Prototyping in 3D Printing?
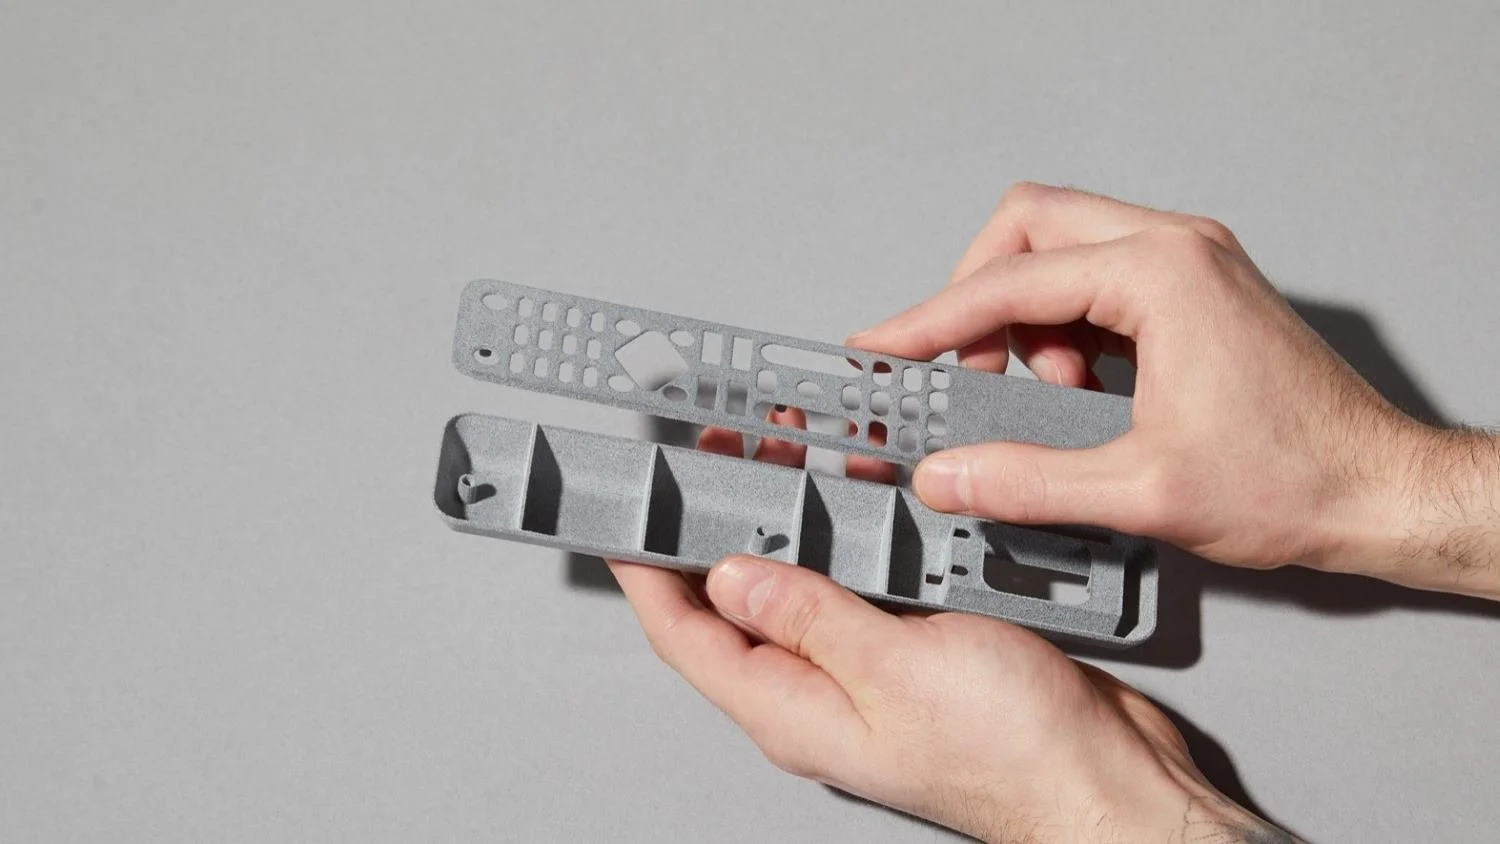
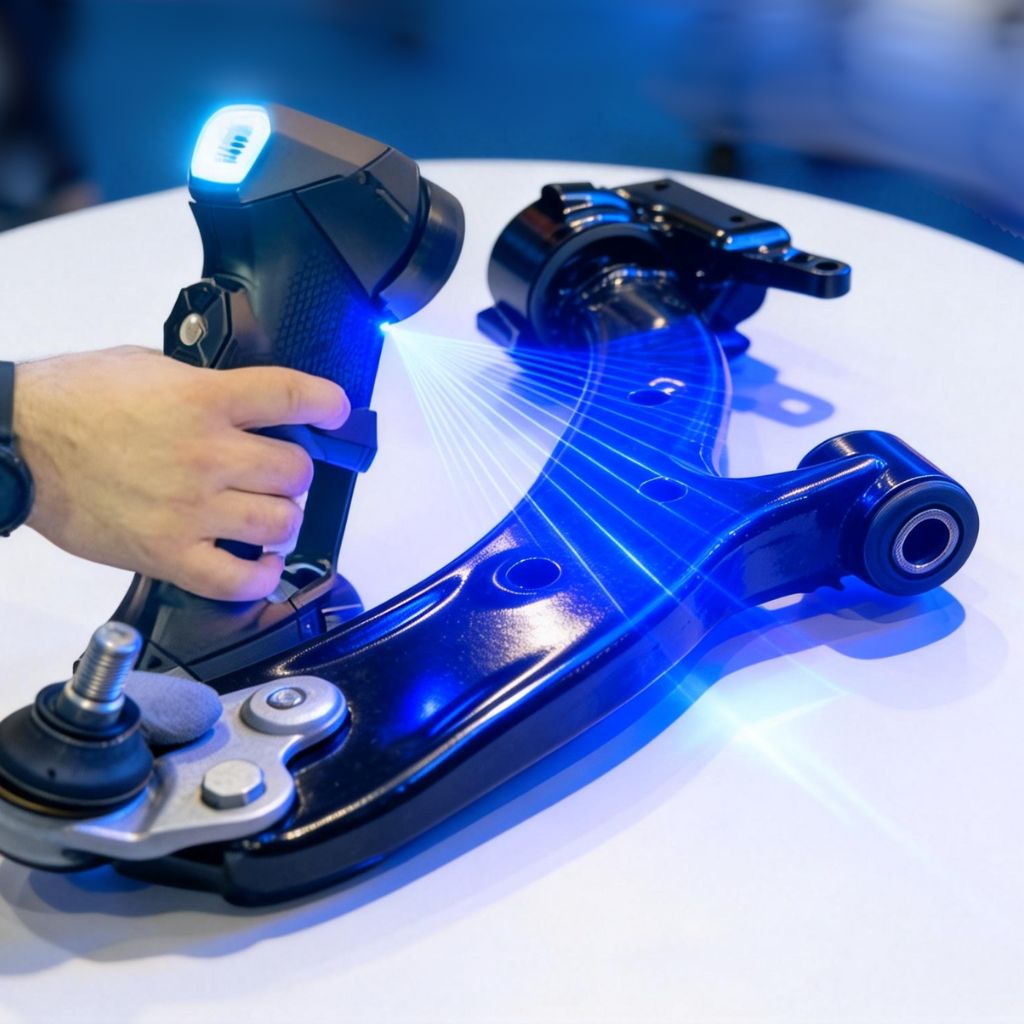
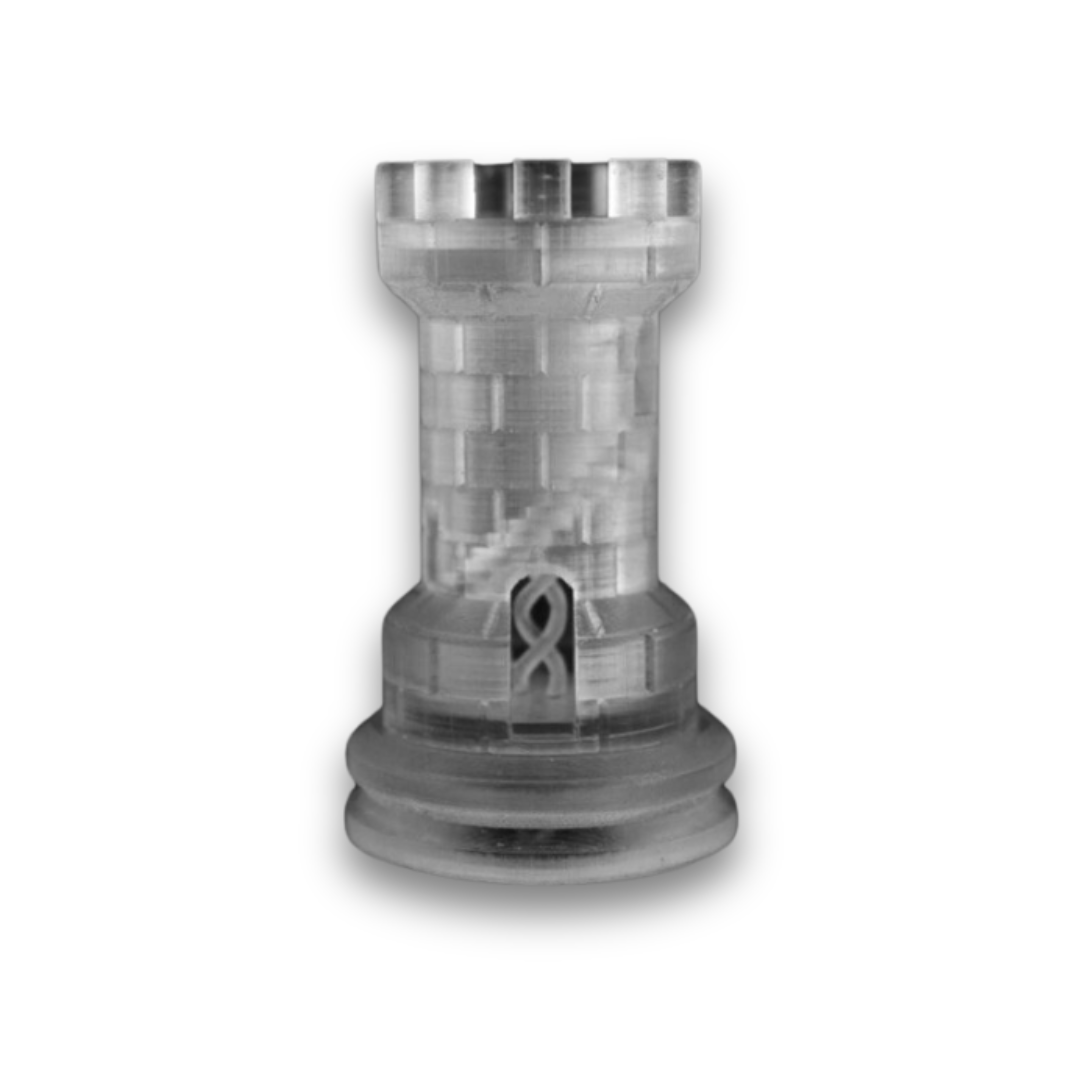
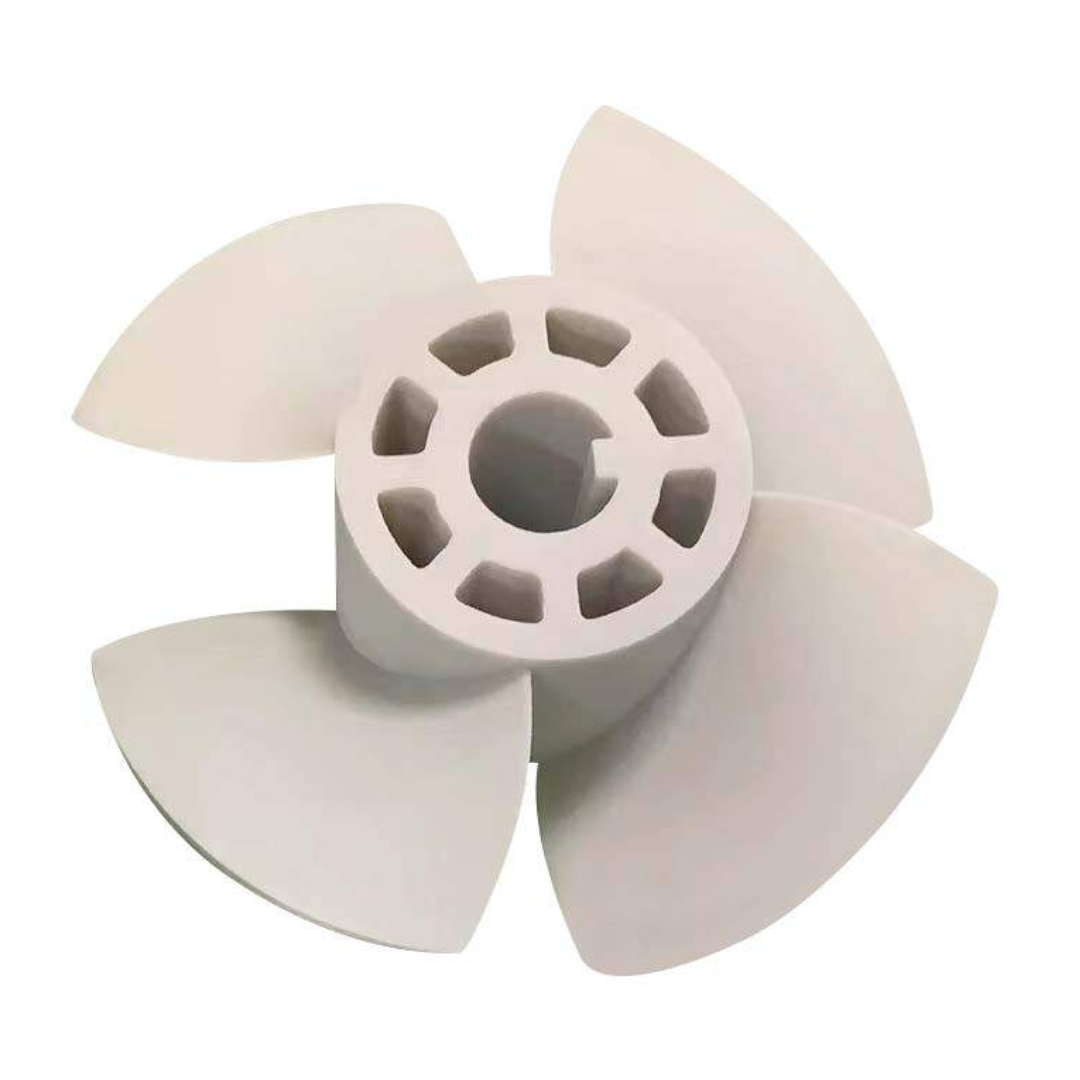
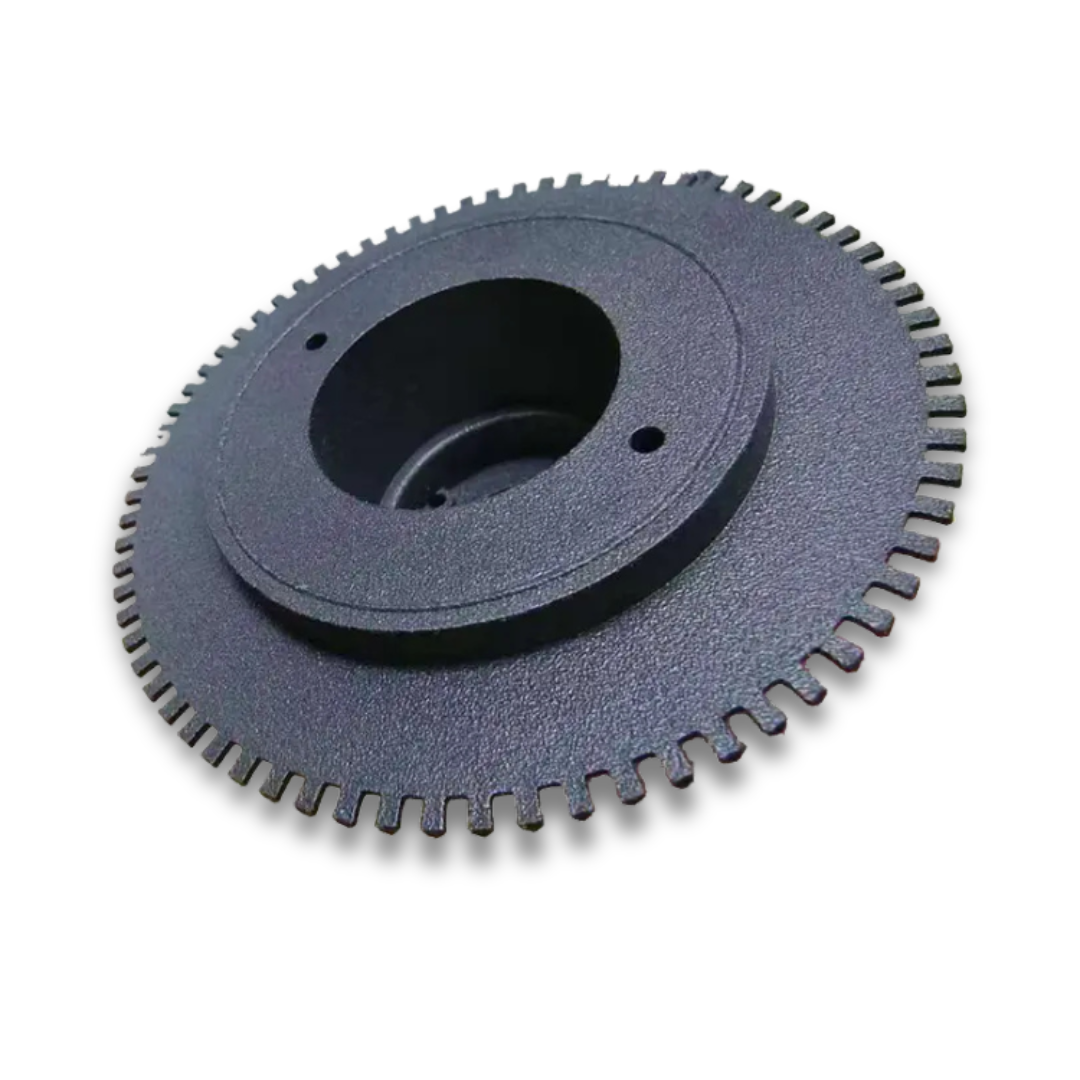
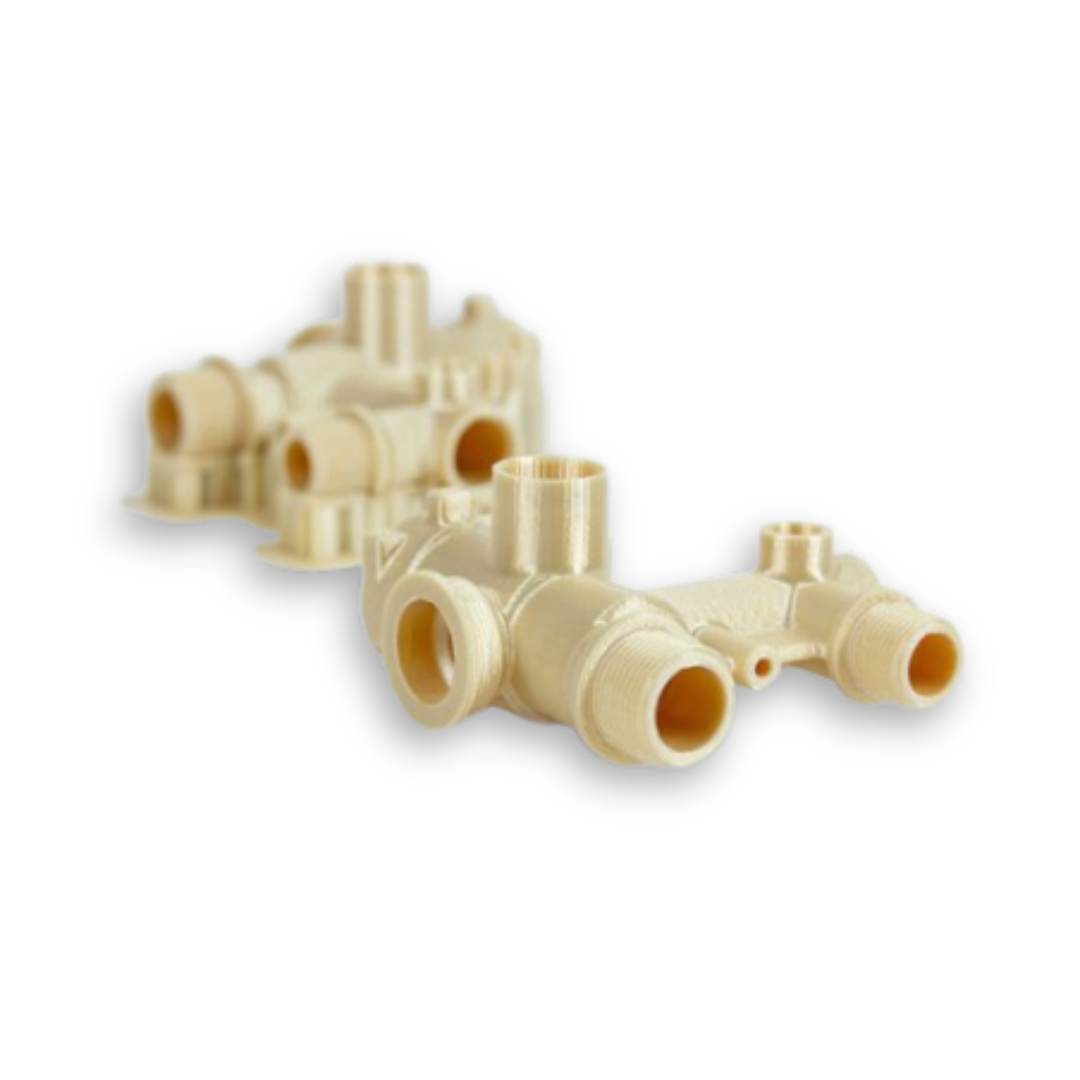
Rapid prototyping in 3D printing swiftly creates physical models from 3D CAD data. Using advanced technologies like FDM, SLA, SLS, SLM and MJF to ensures precise and efficient prototyping, seamlessly translating digital designs into tangible prototypes with remarkable efficiency.
Why Opt to 3D Printing for Rapid Prototyping?
3D printing excels over traditional methods in several ways:
- Speed: 3D printing enables rapid production of prototypes, significantly shortening the time from design to physical model.
- Cost-Effectiveness: Particularly beneficial for small production runs or one-off prototypes, 3D printing often proves more cost-effective than traditional manufacturing methods that may involve expensive molds or tooling.
- Design Flexibility: 3D printing allows for easy customization and personalization of prototypes, accommodating unique requirements seamlessly.
- Material Variety: With a wide range of materials available, including plastics, metals, ceramics, and composites, 3D printing offers diverse options tailored to different properties and applications.
These advantages make 3D printing a compelling choice for rapid prototyping needs, offering enhanced efficiency, affordability, and design flexibility.

What are the steps in the rapid prototyping process??
- Digital Design and CAD Modeling
- Preparing the 3D Printer
- Printing the Prototype
- Post-Processing and Finishing
- Testing and Evaluation
- Refinement and Optimization
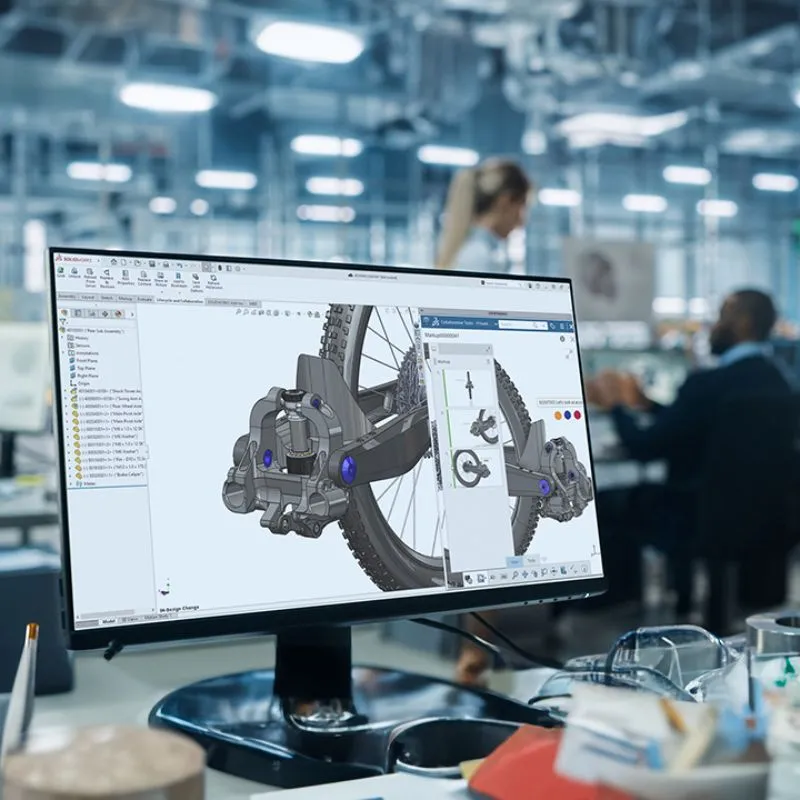
STEP 1 # Digital Design and CAD Modeling
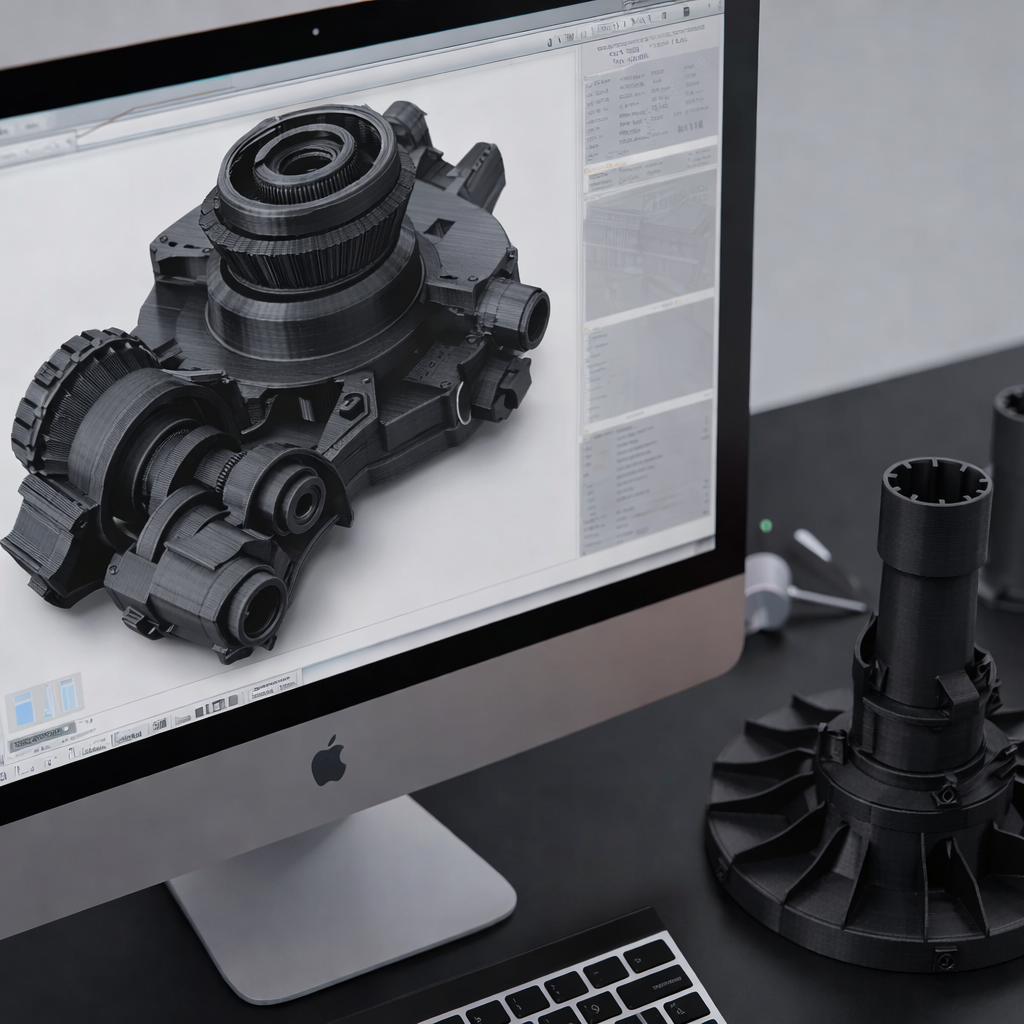
Every 3D-printed object starts with CAD software, where detailed 3D models are crafted. The design is refined and iterated upon based on requirements and feedback, ensuring the model meets specifications and is ready for printing.
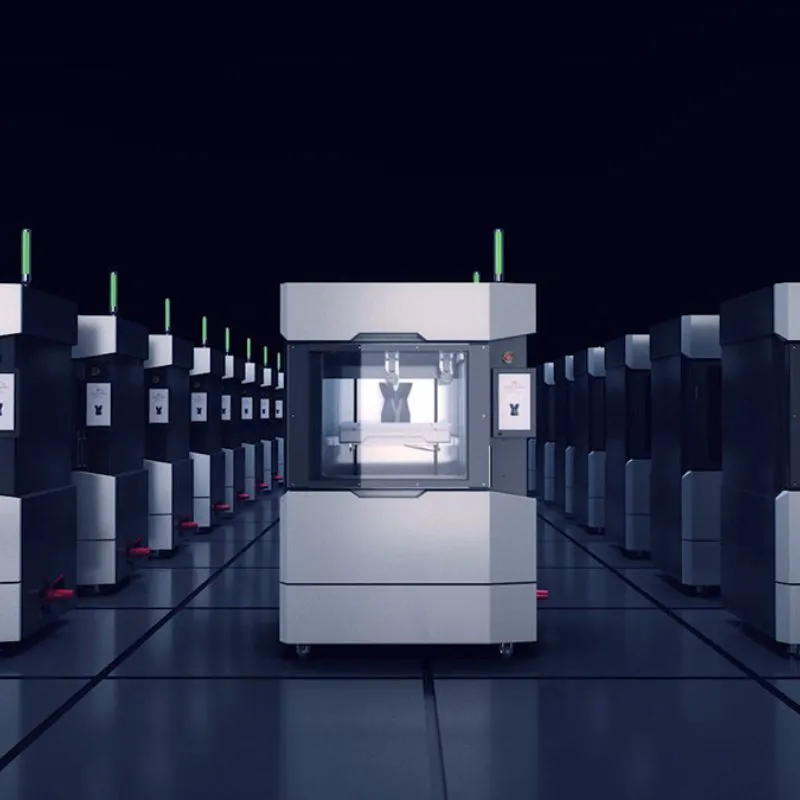
STEP 2 # Preparing the 3D Printer
Choose the right 3D printing technology and material to suit your needs, such as robust FDM for durable parts or versatile SLA for models requiring fine detail and aesthetics.
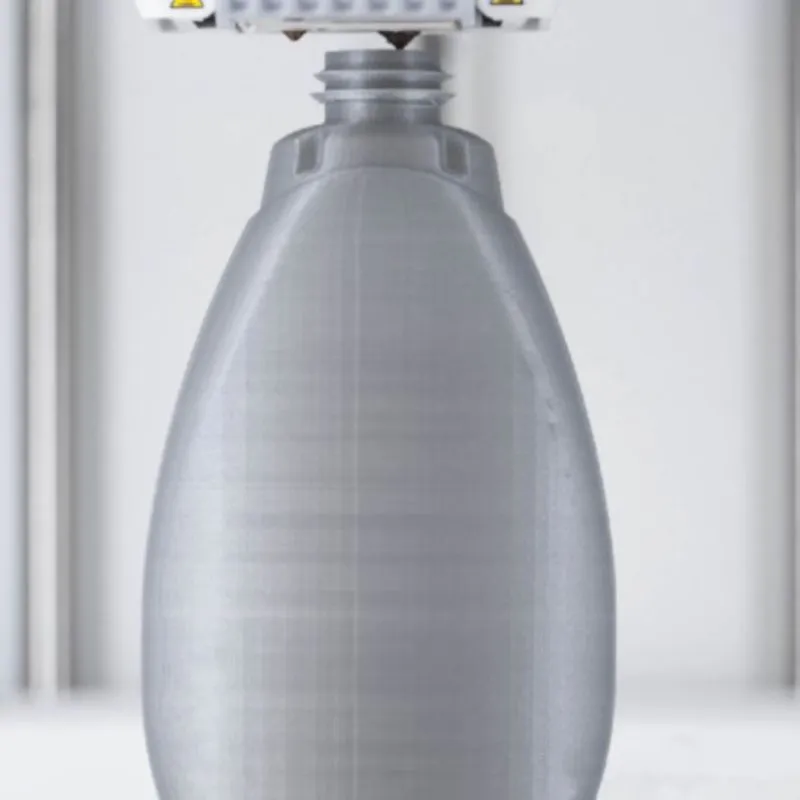
STEP 3 # Printing the Prototype
The CAD model undergoes processing through slicing software to convert it into a format interpretable by the printer. With user-friendly interfaces, importing and slicing the model becomes straightforward. You can easily adjust print settings such as layer height and infill density to meet specific requirements, and observe the 3D printer transforming the concept into a physical prototype.
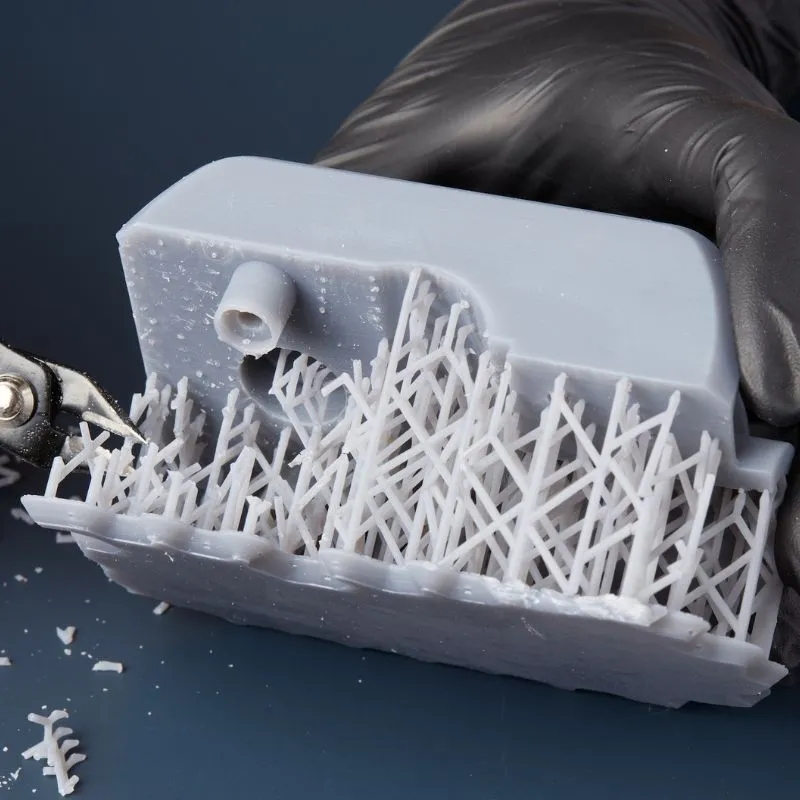
STEP 4 # Post-Processing and Finishing
After printing, the next step involves finishing touches. This includes removing supports, smoothing rough edges, and refining details, all of which are crucial to ensuring the prototype aligns with the intended vision.
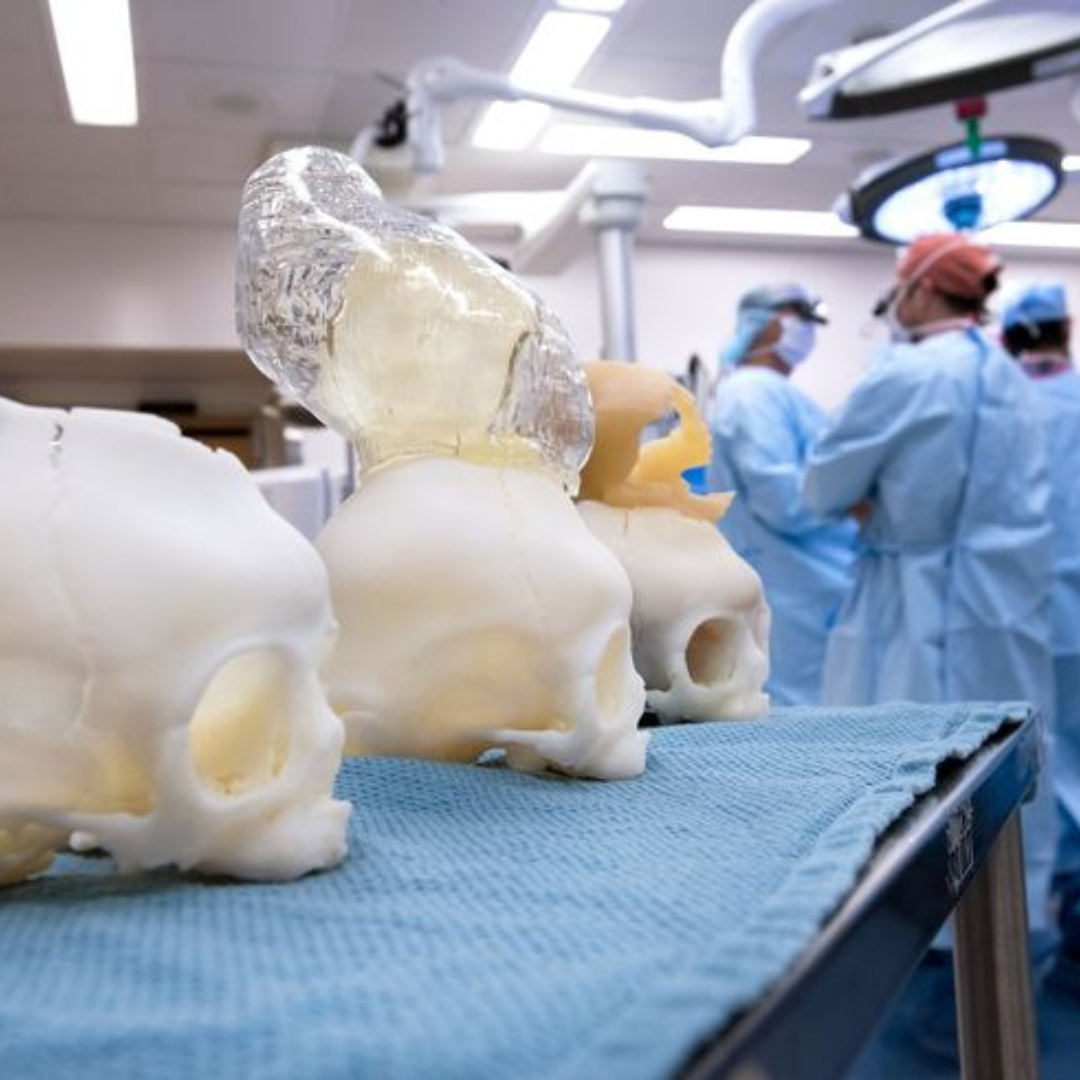
STEP 5 # Testing and Evaluation
Prototypes undergo thorough testing to assess functionality and collect feedback for enhancements.
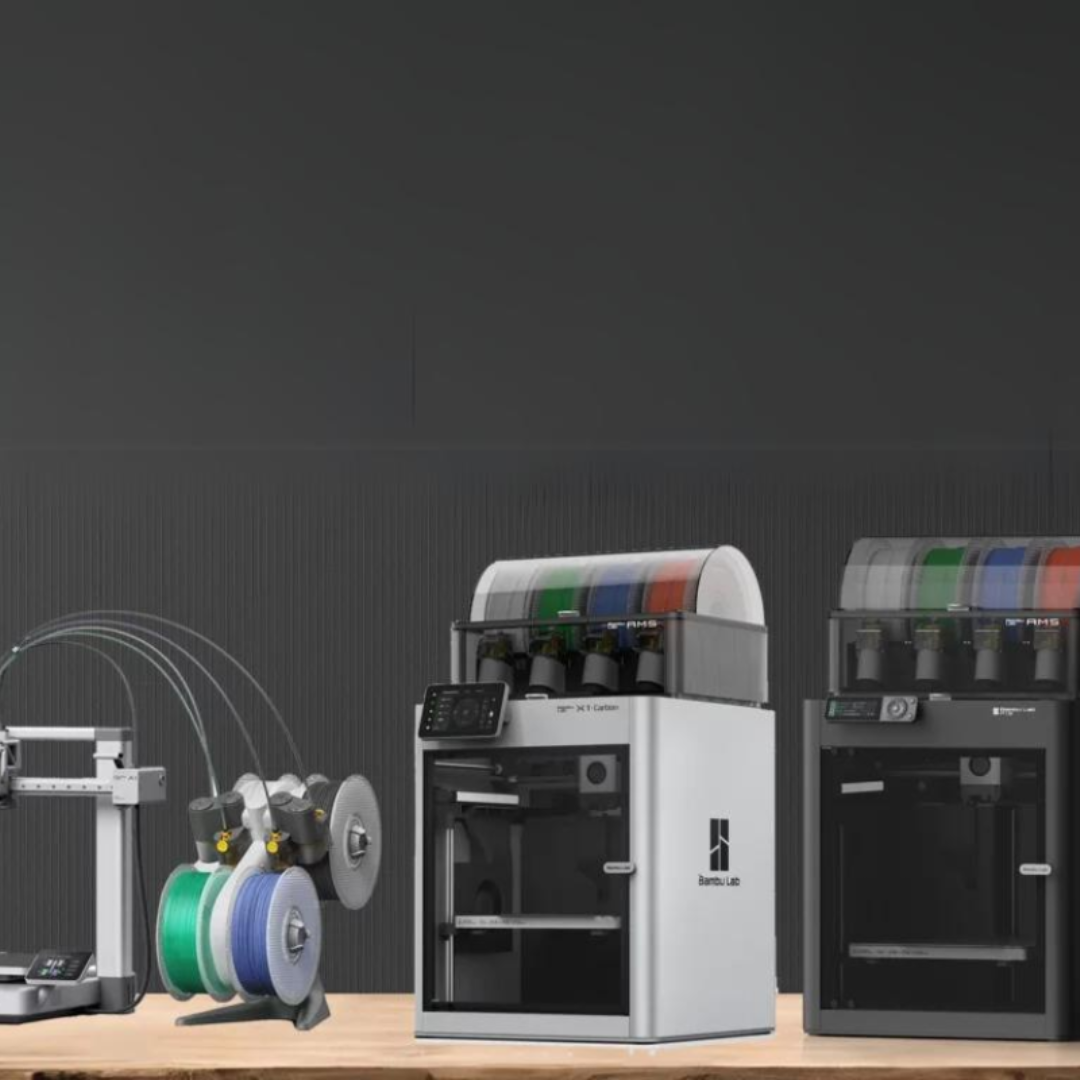
STEP 6 # Refinement and Optimization
Incorporate feedback to refine and optimize your design through iterative adjustments and reprinting until you achieve perfection.
Connect with Projet:
If you’ve had a positive experience with Projet that you’d like to share, please reach out to us at enquiry@projettech.com. We eagerly anticipate hearing from you.
For additional information, visit our website for comprehensive details about our services and contact information. Our friendly team is ready to assist you at any time.

